Upload screenshots or videos
Start a project from screenshots or screen recordings saved on your device, then describe what the walkthrough should teach and create the project.
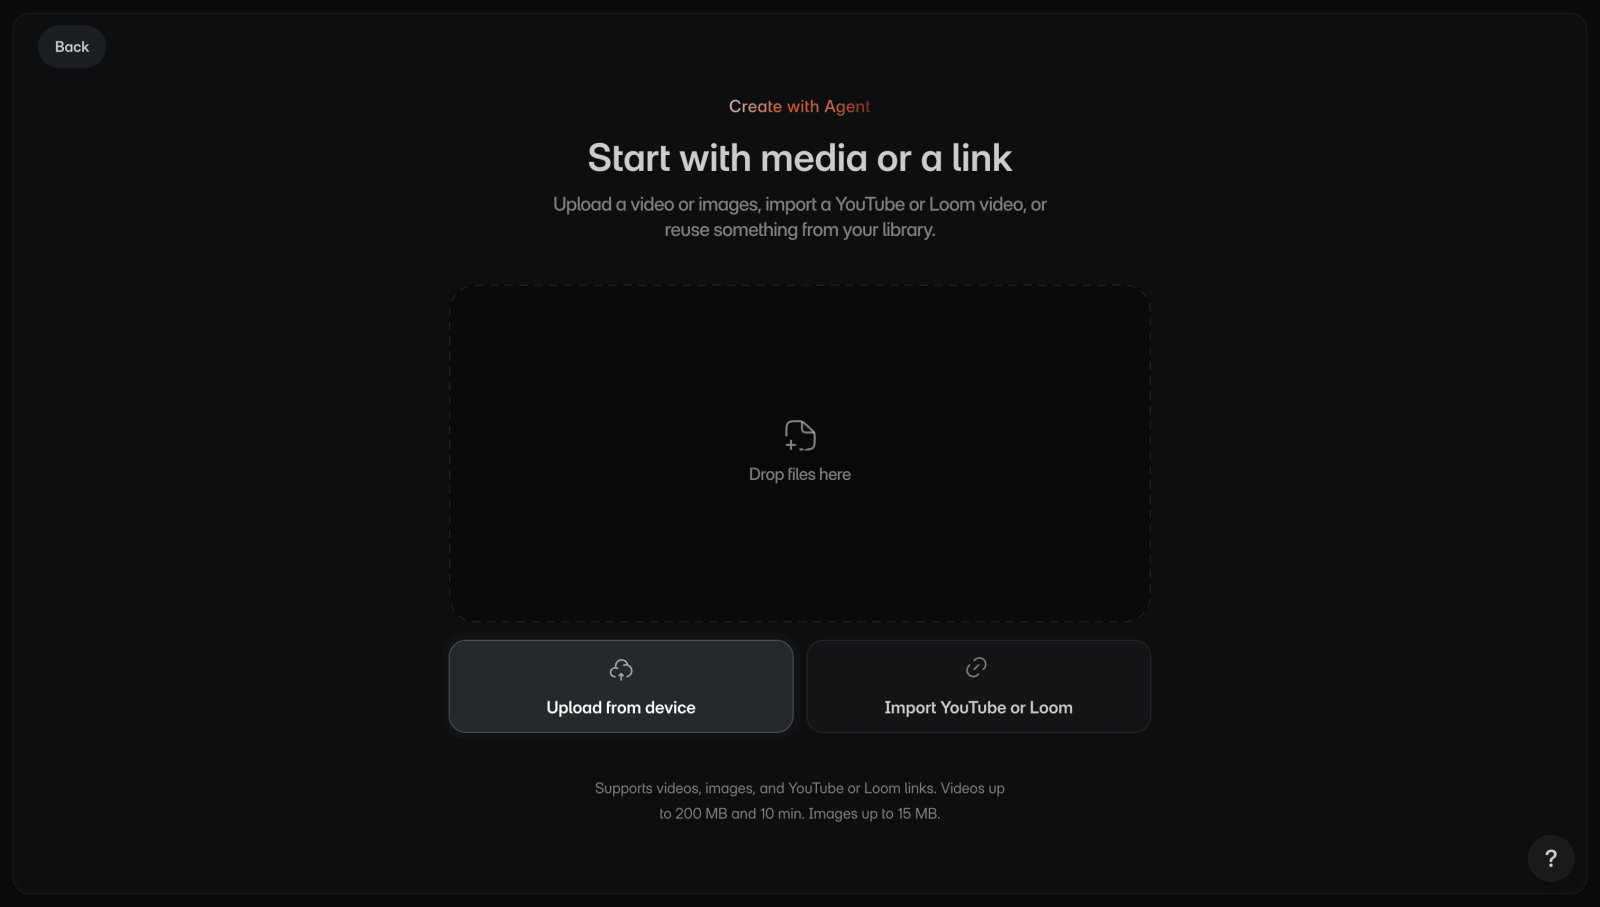
Upload your files
You can upload PNG or JPEG screenshots up to 15 MB each. Videos can be MP4, WebM, MOV, or MKV, up to 200 MB and 10 minutes each. A project takes up to 100 screenshots and 5 videos, and you can mix the two.
To upload your files:
- On Home, select Create with Agent. You'll see Start with media or a link.
- Select Upload from device and choose your files, or drop them where it says "Drop files here". You'll see What do you want to create? with your files above the prompt.
- Optional: To add more files, select the plus button after your files, then Upload from device.
- Describe what the walkthrough should teach, for example "Show a new admin how to invite a member."
- Select Create project, the arrow beside your prompt. You'll see the project open with its progress.
What happens next
Layerpath turns your files into a walkthrough. With screenshots only, each screenshot becomes one step. From a video, Agent picks where each step starts.
You'll see each stage at the top of the page as it runs. Once the callouts are written, you can open the project in the editor with Edit.
If something goes wrong
- A file is refused when you add it: the message names the problem, such as "File too large. Upload an image smaller than 15 MB." Check Supported files.
- A file shows Retry upload: its upload failed. Select it to try again, or remove the file. You can create the project once every file has uploaded.
- The project stops or fails while it processes: see Project stuck or failed.