Edit the intro and outro of a walkthrough
Change the theme, title, logo, and buttons on the cards that open and close a walkthrough, add a form that asks viewers for their details, or hide a card.
What the intro and outro look like
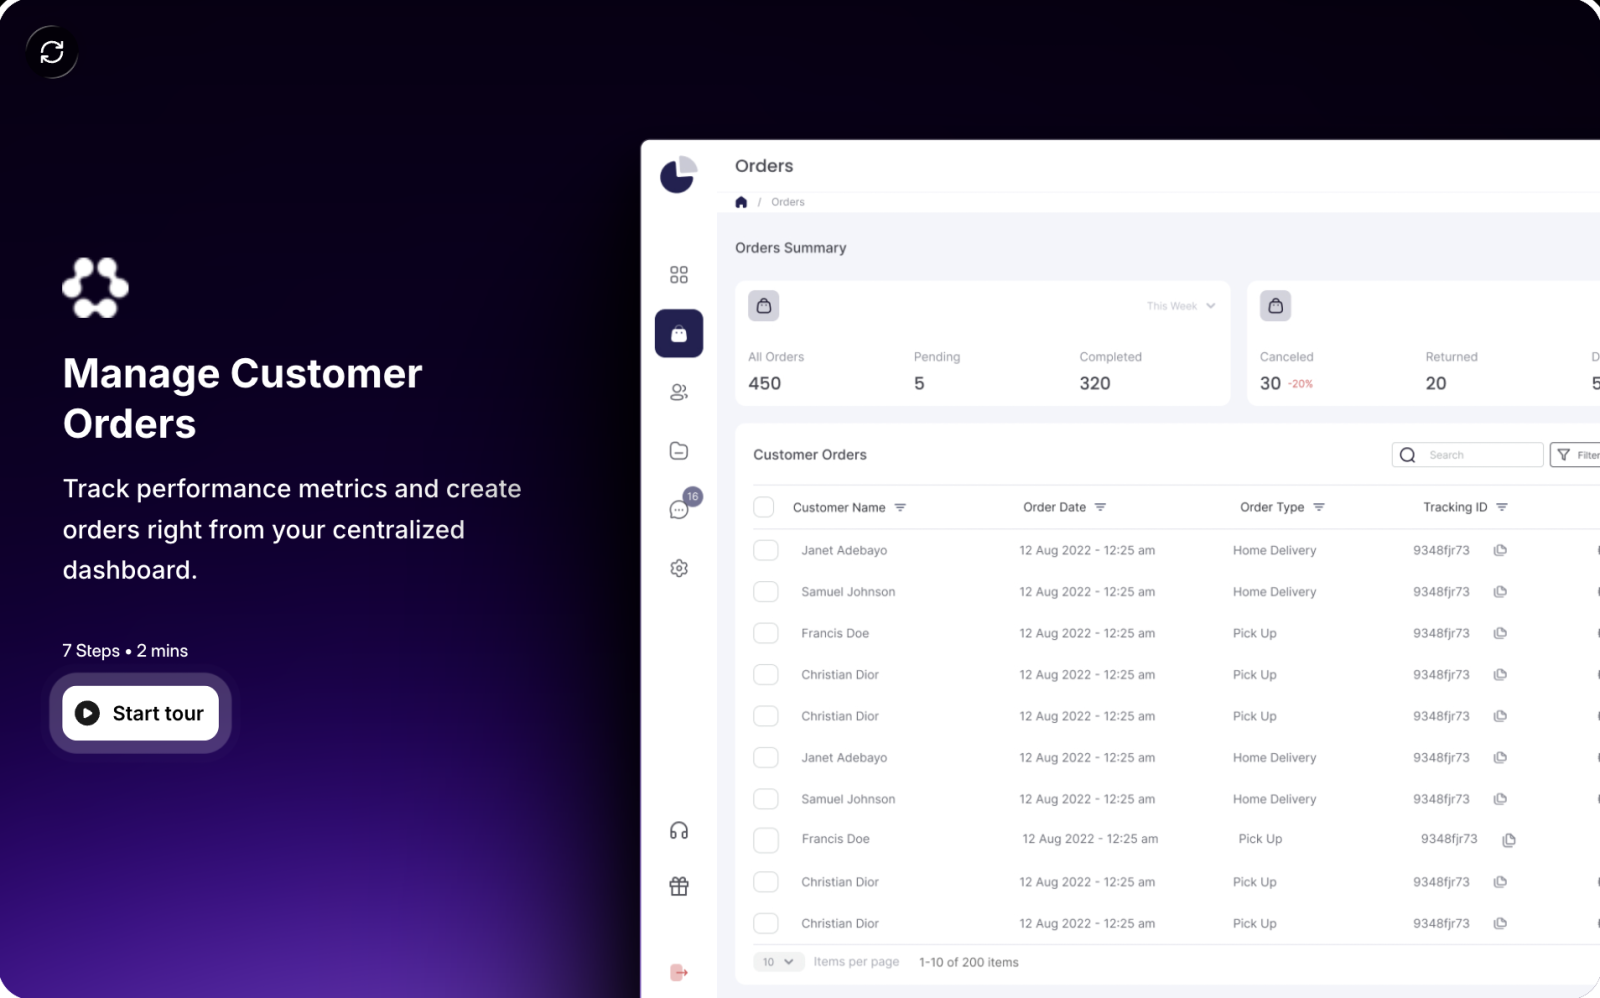
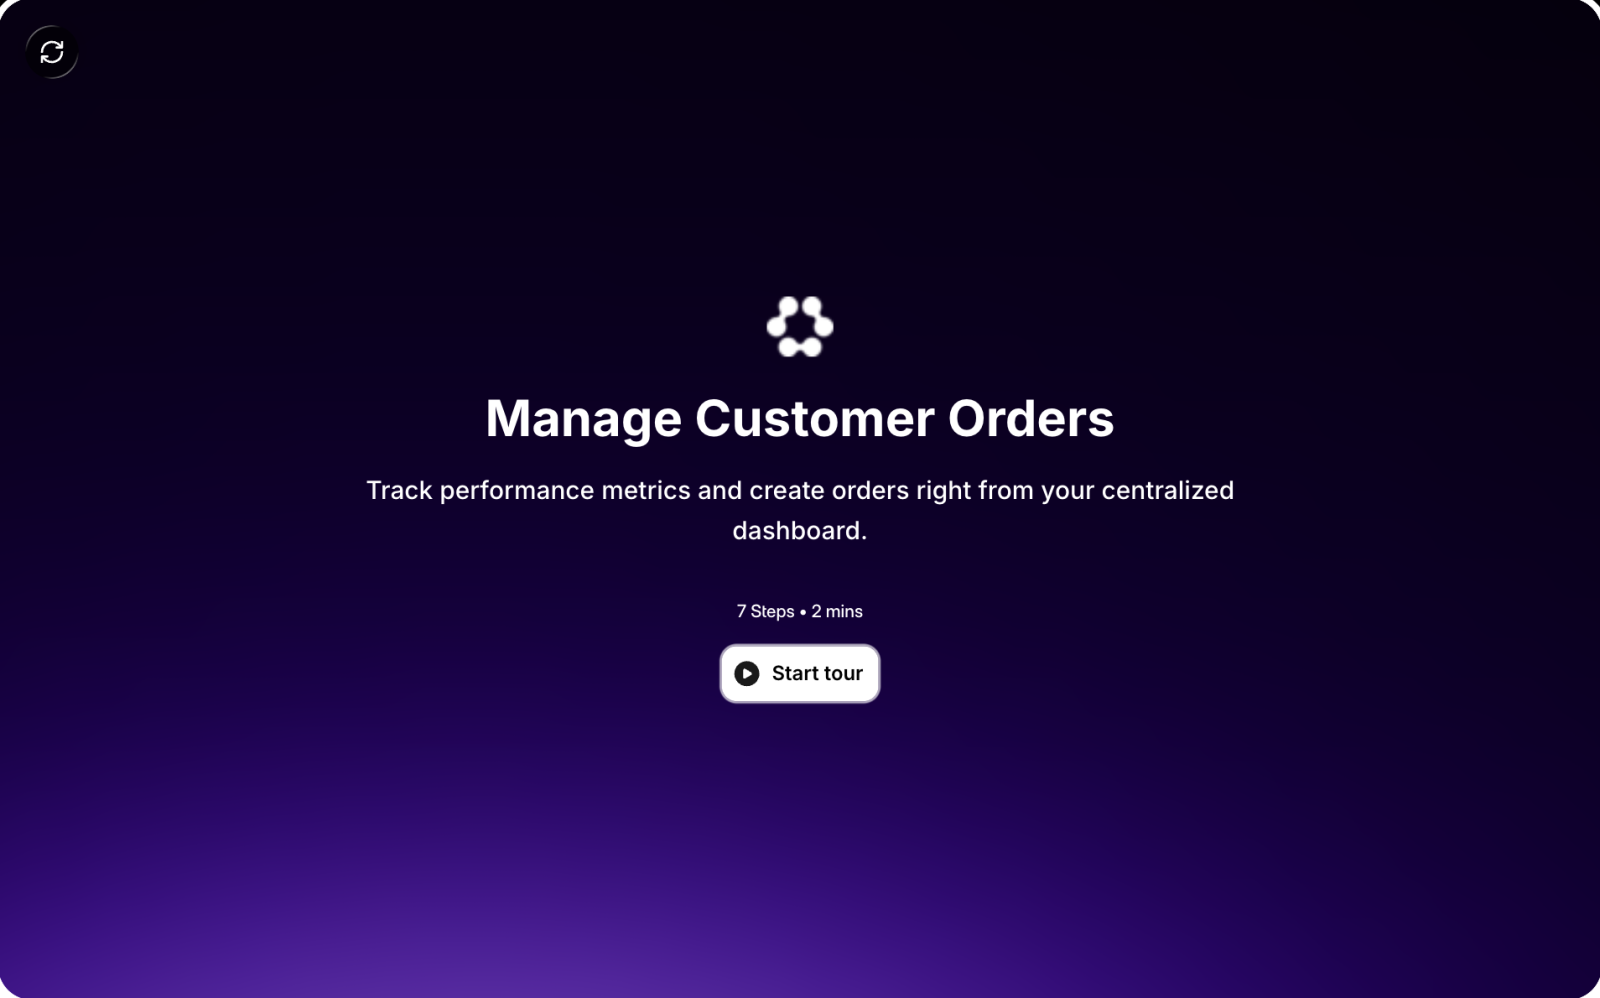
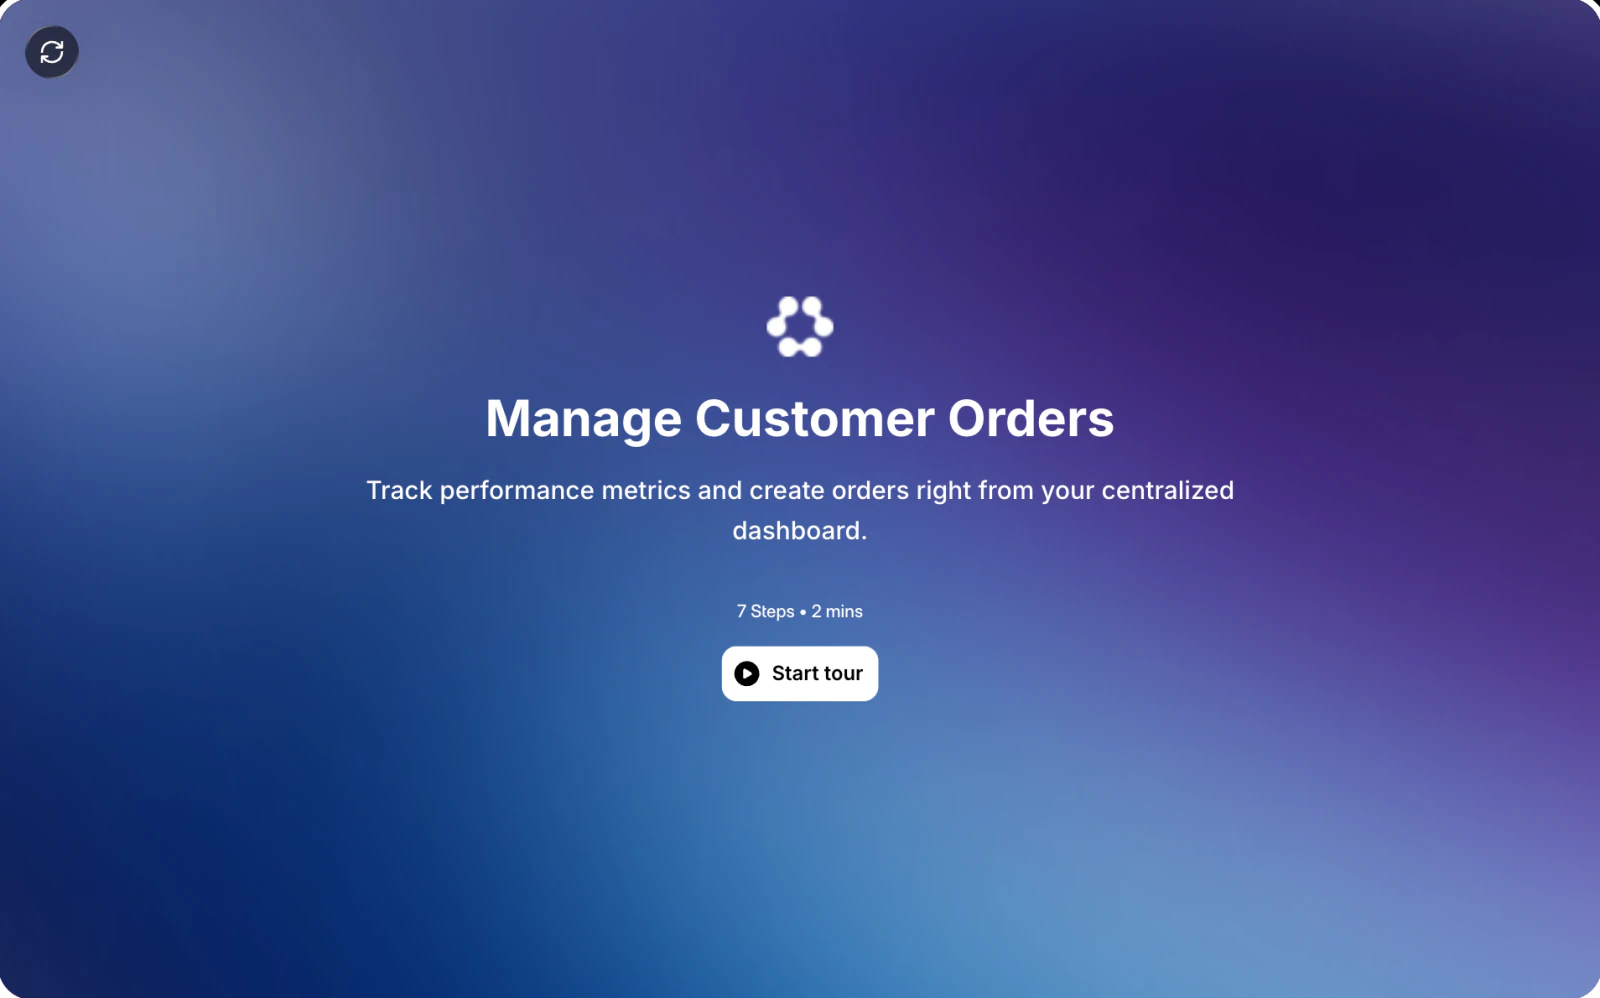
The intro is the first thing viewers see, with a title, a short description, and buttons. It can show your logo, too. The outro closes the walkthrough. Layerpath adds both when it makes a walkthrough, and the step counter counts them as steps.
Change the theme
To change the theme:
- Go to the intro or outro.
- Select Themes in the bottom bar.
- Choose Title only, Title with glow, Title with screenshot, or Screenshot as cover. You'll see the card change.
Next to Themes, a swatch sets the background from Colors, Abstract, or Upload. Screenshot as cover has no swatch. Title with glow adds a second swatch for the glow color. The two screenshot themes add Image, where you pick a step's Screenshot or upload an Image.
Change the text and logo
Select the title or the description on the card and type. A toolbar appears with the font, bold, italic, underline, and color for that text.
To change the logo, select it on the card. Pick one from My Icons, search by company name under Search, or Upload your own.
Add buttons
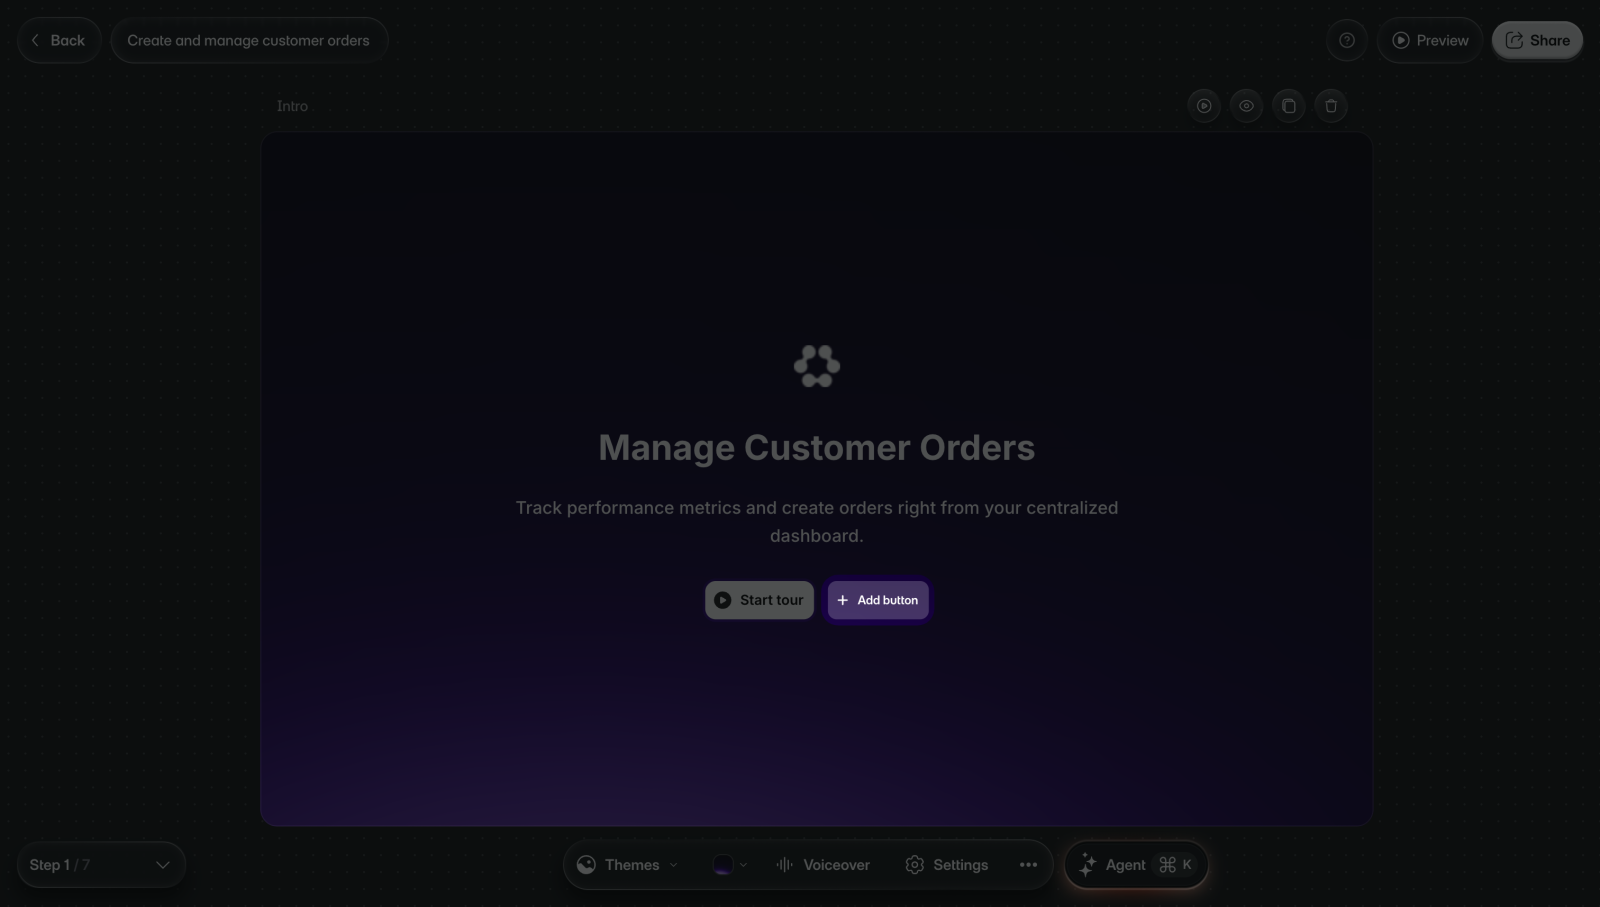
To add a button:
- Go to the intro or outro.
- Select Add button on the card. You'll see a new button labeled "Learn How".
- Select the button and replace "Learn How" with your label.
- Open Destination in the button's toolbar.
- Choose a step, or select External link and paste a URL.
Until you choose a destination, a new button on the intro goes to the next step. A new one on the outro goes back to the intro. The toolbar also sets the button's font, colors, and Corner radius.
The intro holds up to 3 buttons. The first button on a card can't be deleted. To delete another, select it and choose More actions > Delete.
Add a form
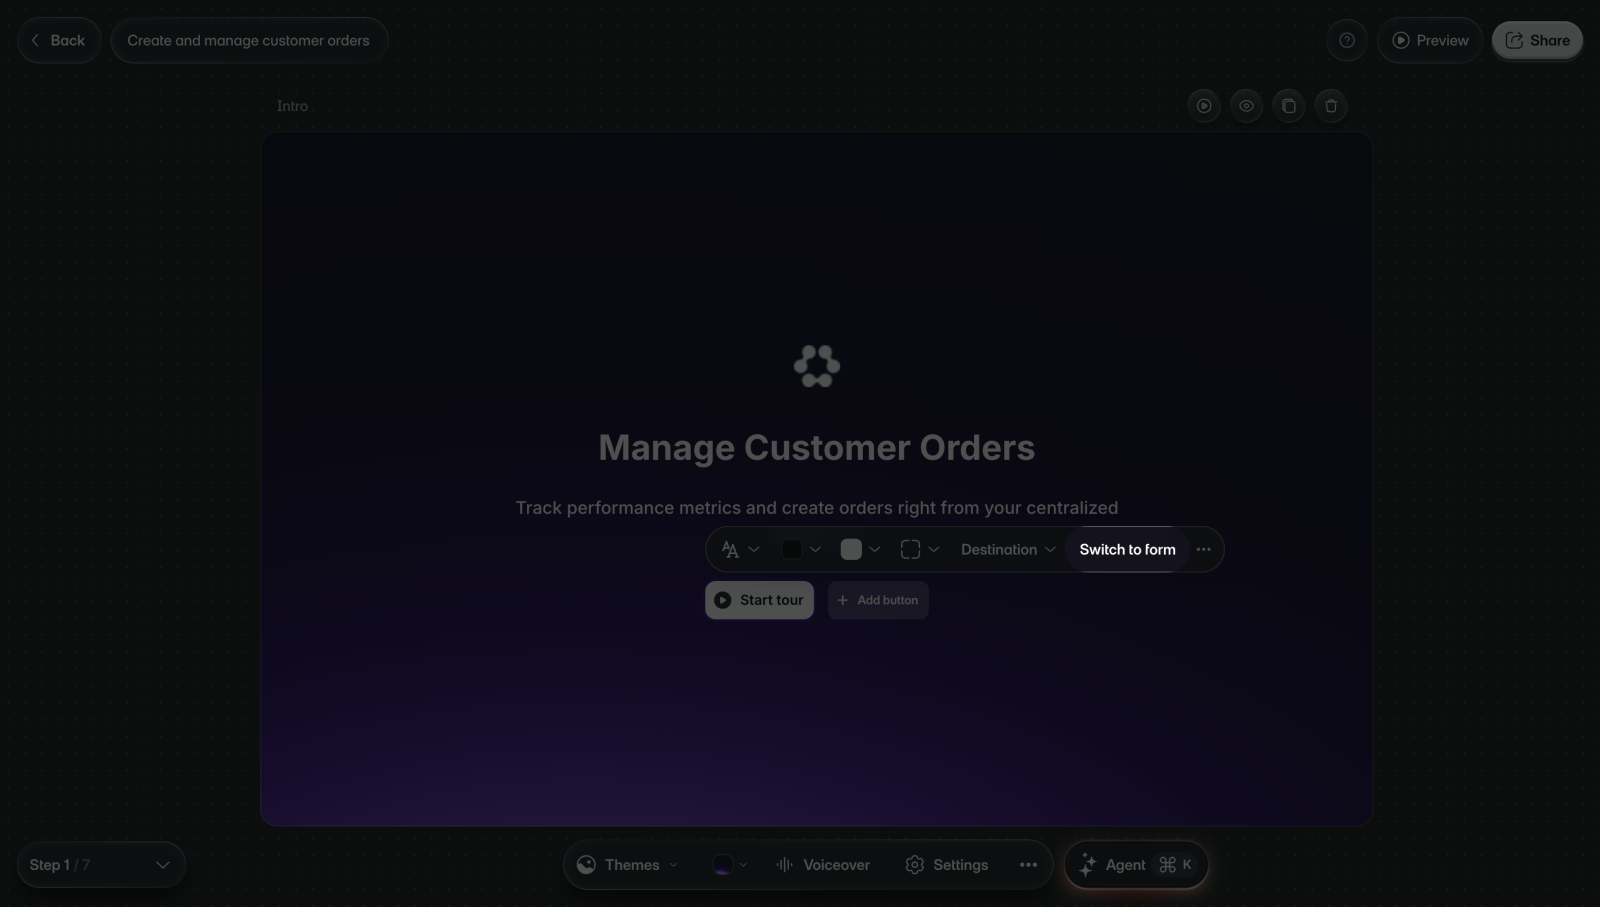
A form asks viewers for their details on the intro or outro. Forms are on paid plans. On Free, you'll see "Forms are available on paid plans."
To add a form:
- Go to the intro or outro.
- Select a button on the card.
- Select Switch to form in the button's toolbar. You'll see Add form fields.
- Select the fields to ask for: Email, Phone, First name, Last name, Text, or Dropdown.
- Optional: Select Edit fields to rename a field or make it a Required field.
To go back to buttons, select the form and choose Switch to button.
Hide or delete the intro or outro
A hidden card stays in the editor, but viewers don't see it.
To hide the intro or outro:
- Open the steps panel from the step counter.
- Point to the card's thumbnail and select its three dots.
- Select Hide step. You'll see Hidden on the thumbnail.
To show it again, select Show step in the same menu.
To delete the card, go to it and select ... > Delete step in the bottom bar, then confirm. There's no button to add an intro or outro back, but you can ask Agent to add one. Hiding it is still the easiest way to keep it for later.
Limits
- The intro holds up to 3 buttons, and the first button on a card can't be deleted.
- Forms need a paid plan.
- The editor has no button to add an intro or outro. To bring a deleted one back, ask Agent to add it.
- Insert isn't offered on the intro or outro, so hotspots, masks, and the other items in it can't go on them.