Blur, cover, or crop part of a step
Blur part of a step, cover it with a solid color, dim everything around one area, or crop the step's image, then lock, arrange, or remove each mask.
The four kinds of mask
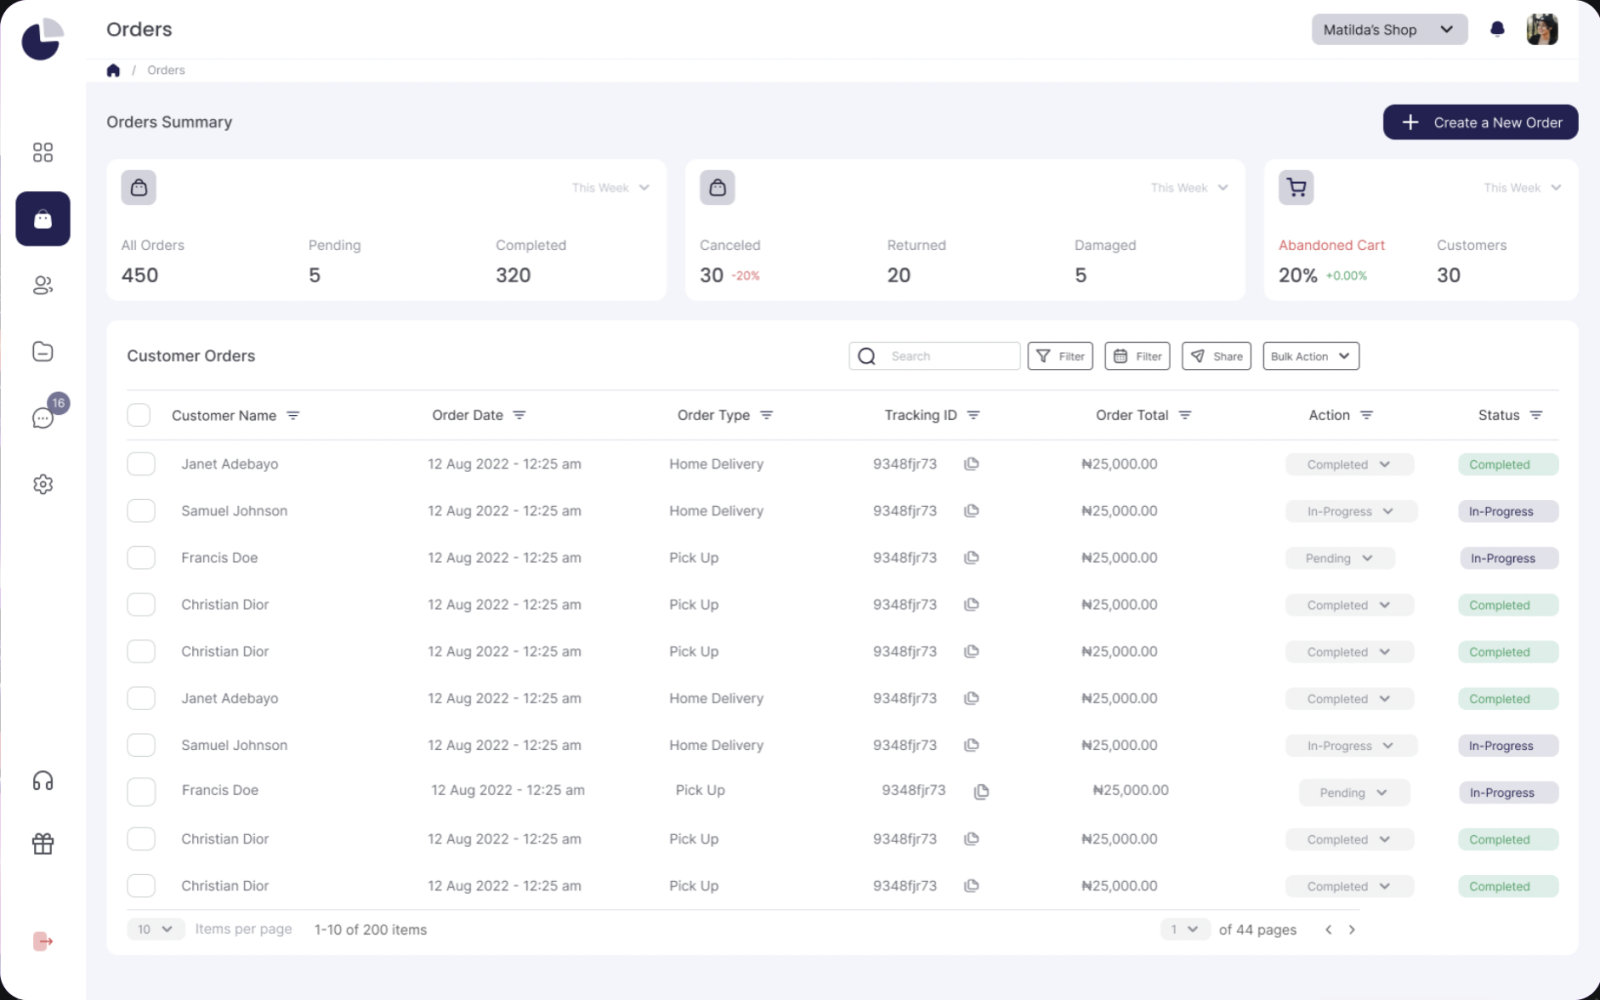
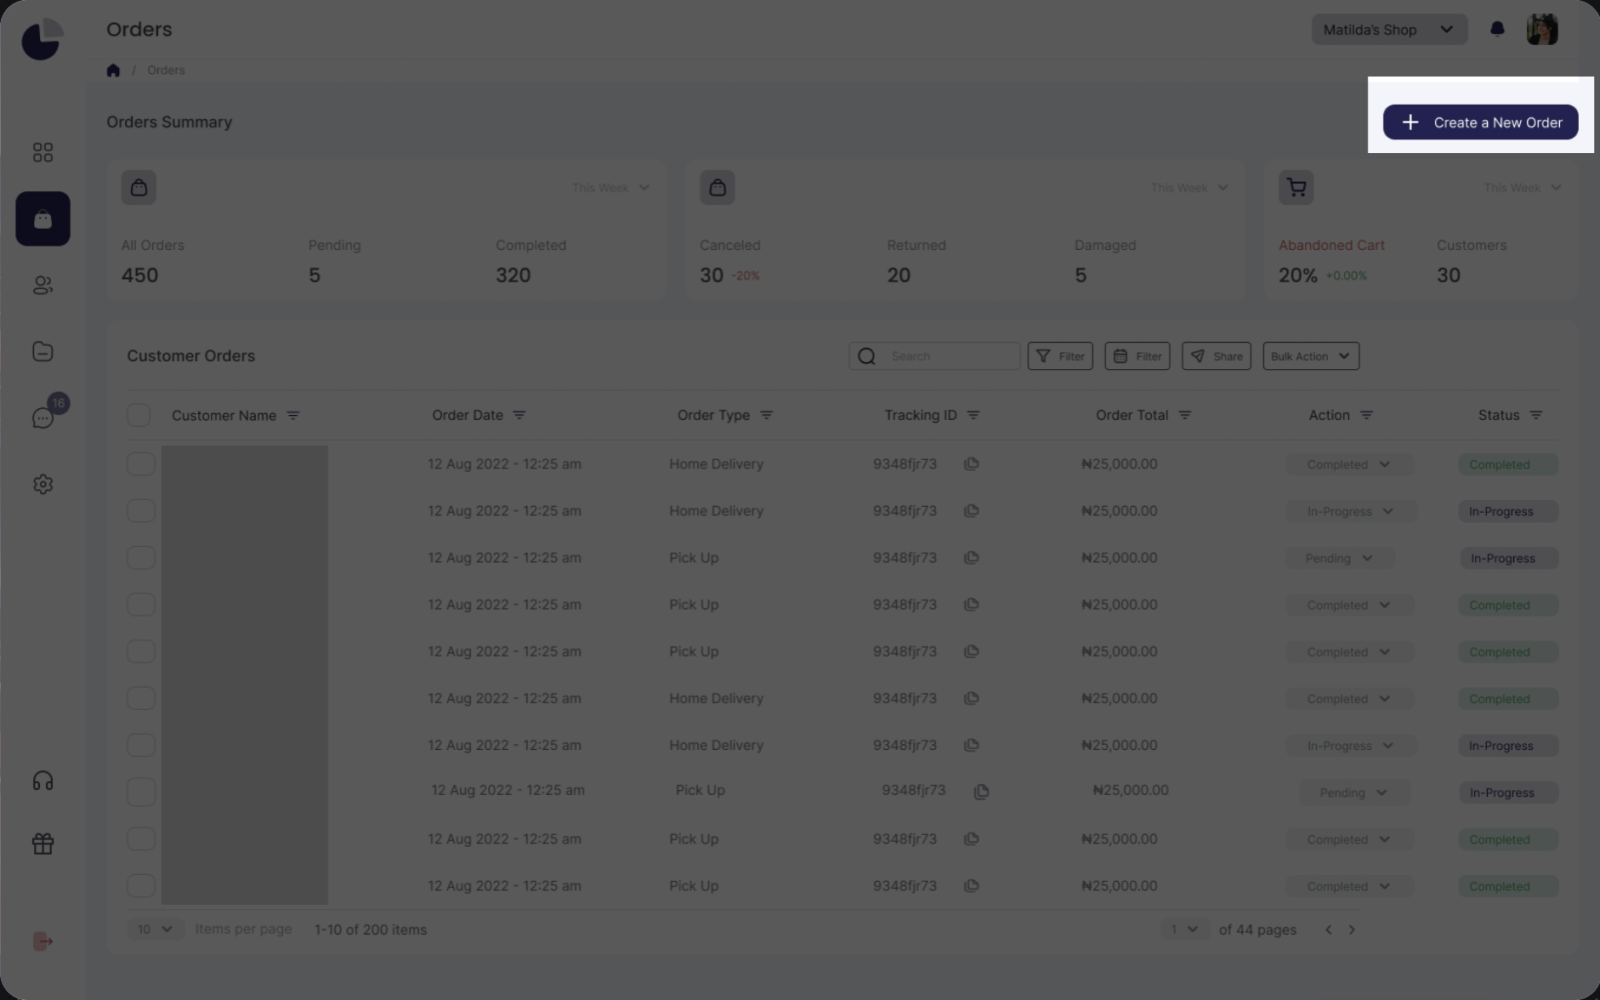
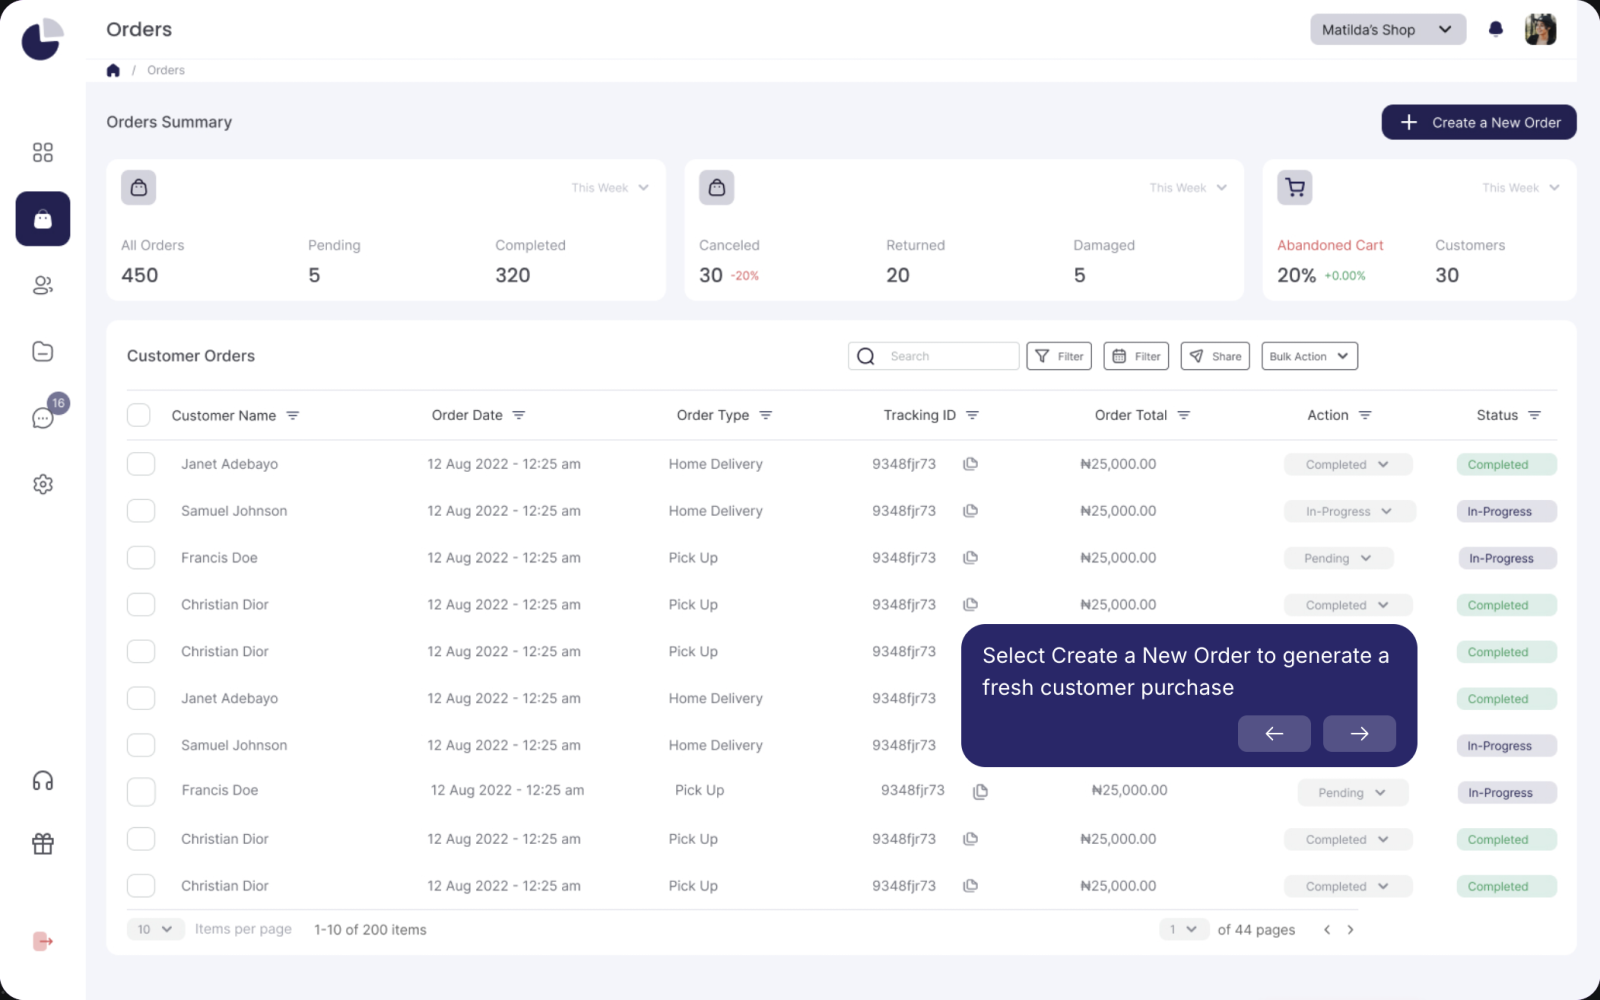
| Kind | What viewers see |
|---|---|
| Blur | A blurred box over part of the step. |
| Block | A box of solid color over part of the step. |
| Highlight | One area in full color, with the rest of the step dimmed or lightened. |
| Crop | The step's image trimmed to the part you keep. |
Blur part of a step
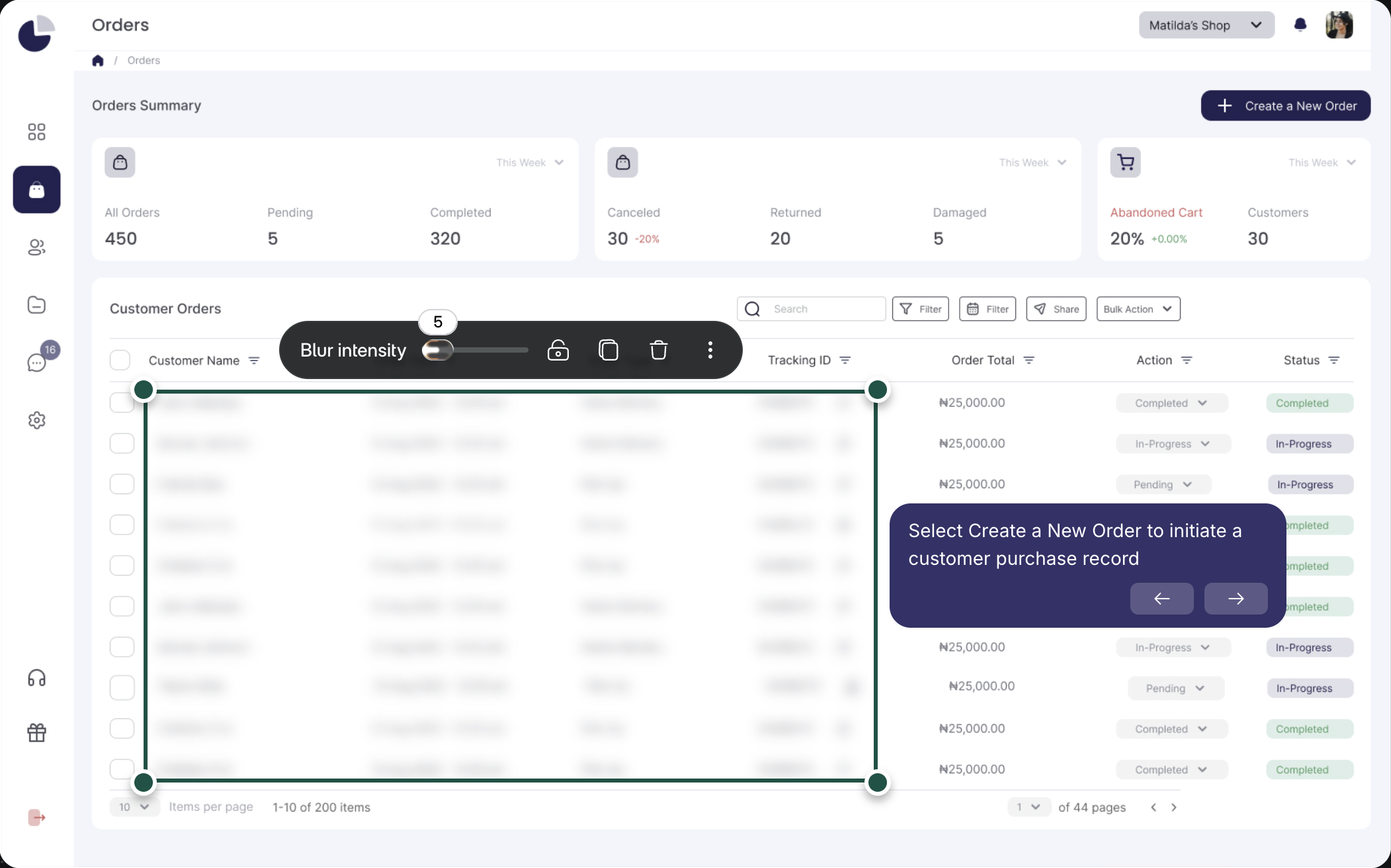
Blur needs a paid plan. On Free, you'll see "Upgrade to add blur."
To blur part of a step:
- Go to the step.
- Select Insert > Mask > Blur.
- Select the part of the step to blur. You'll see a blurred box there, with its toolbar.
- Drag the box and its handles over everything you want blurred.
- Optional: Set Blur intensity in the toolbar, from 0 to 100.
Cover part of a step
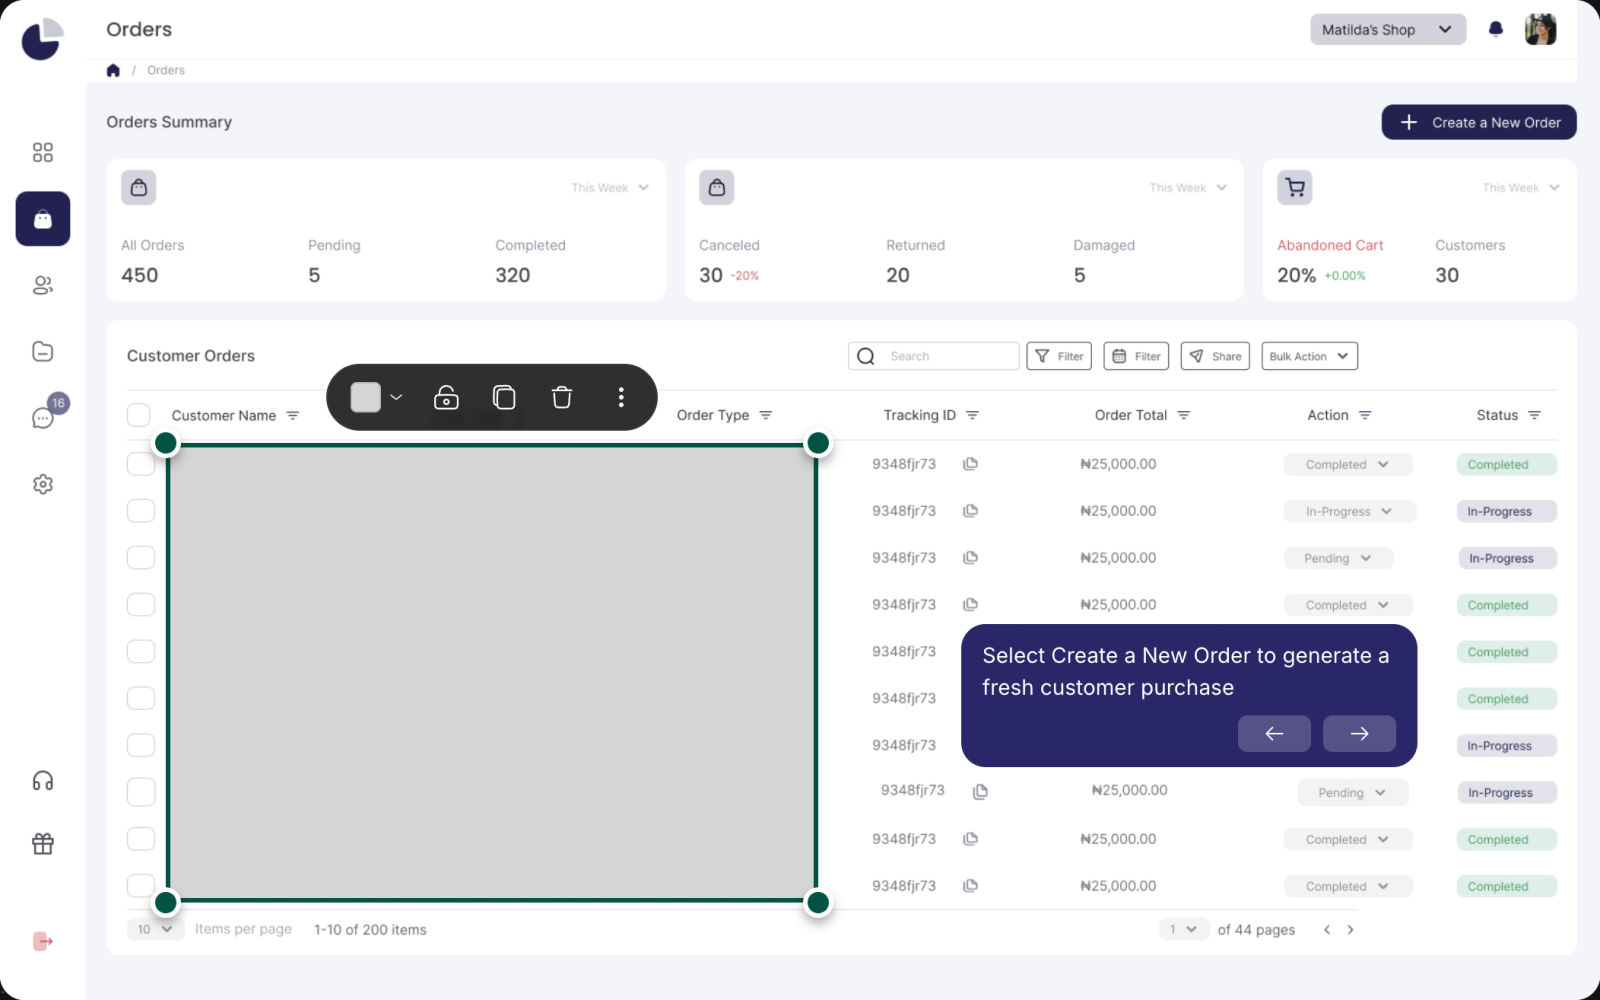
To cover part of a step with a solid color:
- Select Insert > Mask > Block.
- Select the part of the step to cover. You'll see a gray box there.
- Drag the box and its handles to fit.
- Optional: Use the color swatch in the toolbar to change the box's color.
Highlight one area
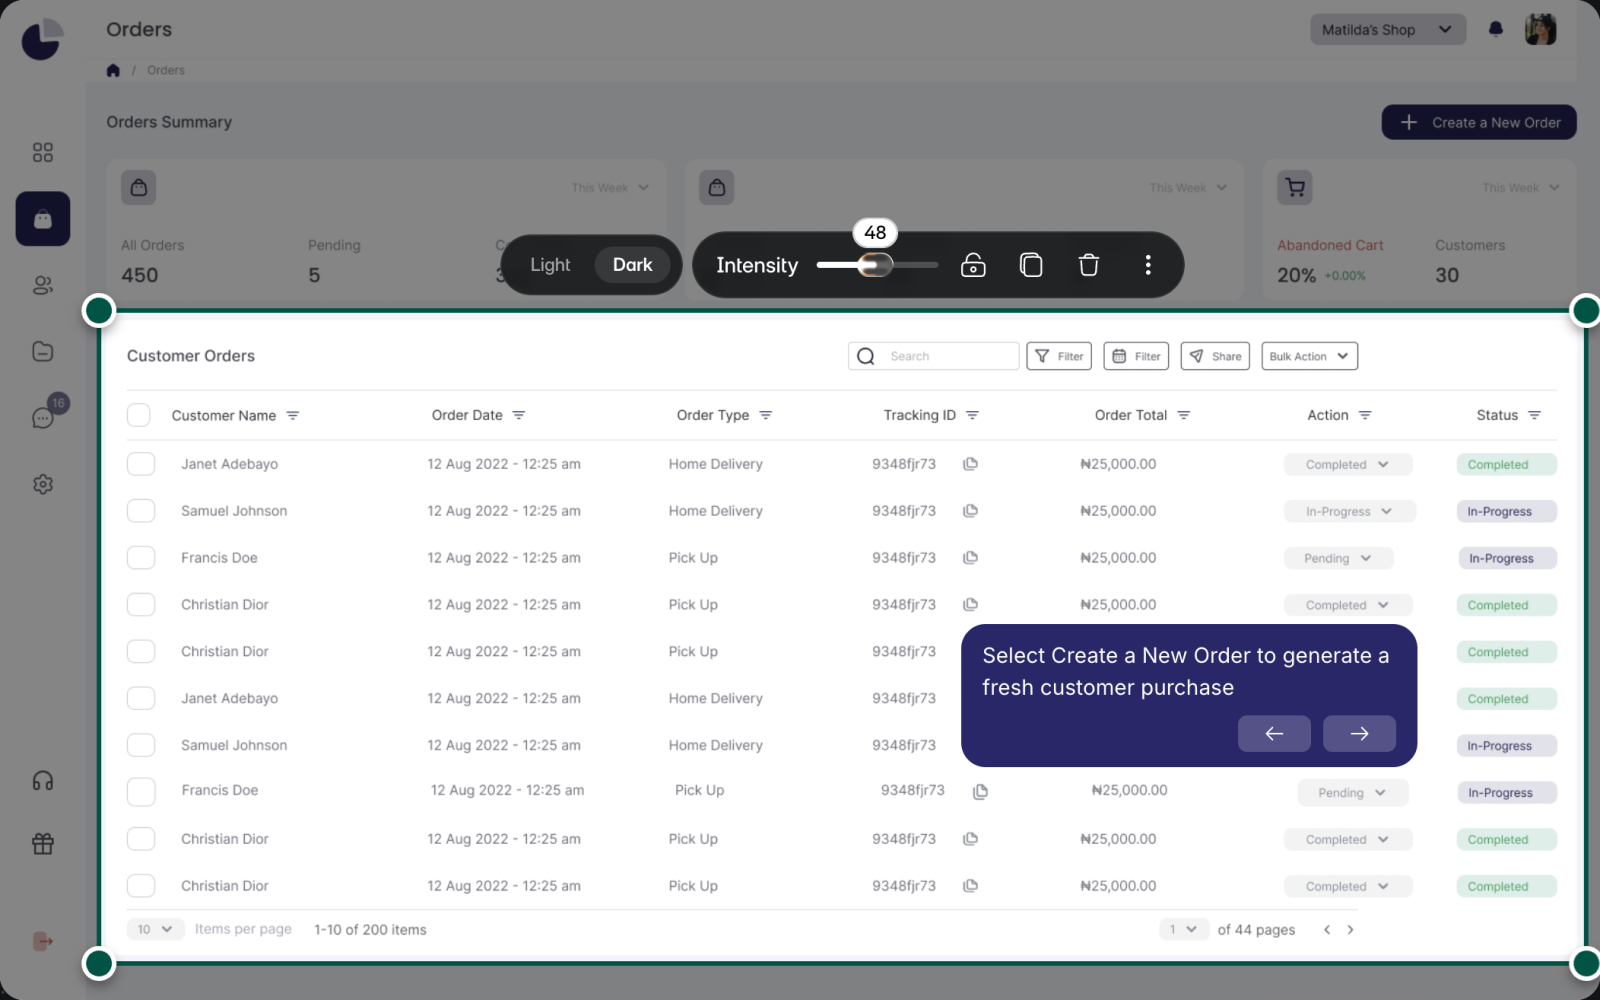
A highlight keeps one area in full color and dims everything around it, so viewers look there first.
To highlight an area:
- Select Insert > Mask > Highlight.
- Select the area to highlight. You'll see the rest of the step dim.
- Drag the box and its handles to fit the area.
- Optional: Choose Light or Dark, and set Intensity from 0 to 100.
Light, Dark, and Intensity apply to every highlight on the step.
Crop a step's image
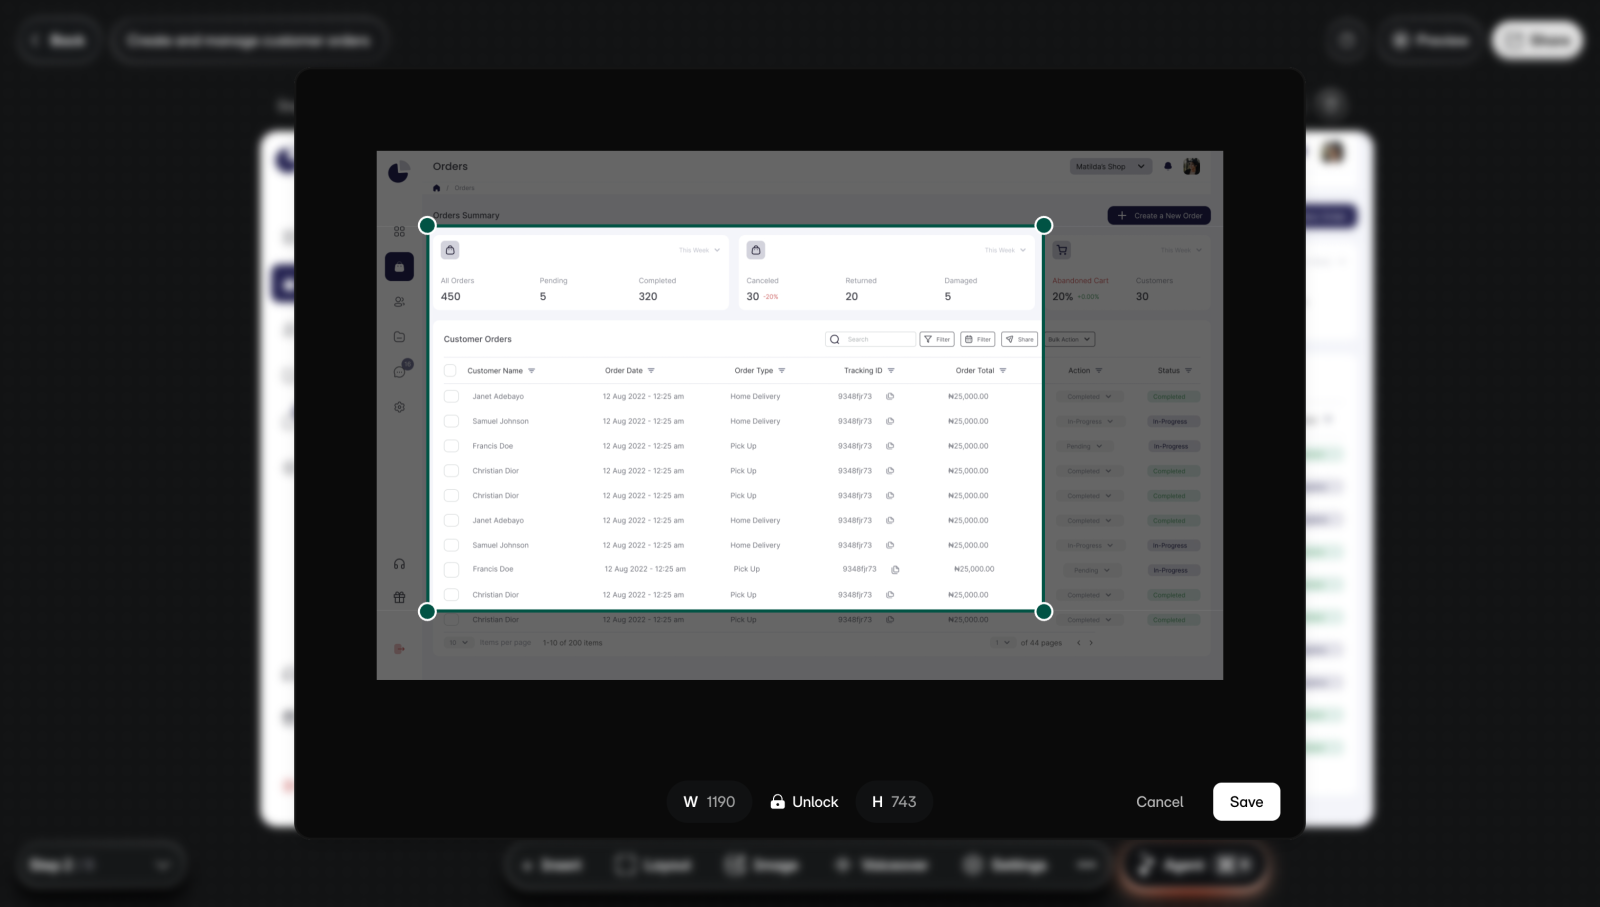
To crop the step's image:
- Select Insert > Mask > Crop. You'll see the step's image with a crop box.
- Drag the box and its corners around the part to keep. The width and height show below, in pixels.
- Optional: Select the lock button between the width and height to change the box's shape freely. Its shape is locked at first.
- Select Save. You'll see "Crop applied".
Saving replaces the step's image with the cropped one, and the crop window has no reset. To keep the full image, duplicate the step before you crop.
Lock, arrange, or remove a mask
Select a blur, block, or highlight to see its toolbar.
- To lock it in place, select Lock. A locked mask's toolbar shows only the lock button. Select it to move the mask again.
- To change which items it sits above, open More options and choose Bring to front, Bring forward, Send backward, or Send to back.
- To copy it, select Duplicate. To remove it, select Delete or press the Delete key.
Limits
- Blur needs a paid plan. Block, Highlight, and Crop are on every plan.
- Insert isn't on the intro or outro, and on a step made from a screen recording it offers only new steps. Masks can't go on those steps.
- Crop isn't offered on blank steps, and a saved crop can't be reset.
- All highlights on a step share one Light or Dark choice and one Intensity.